Tuesday, October 22, 2013

Trim Healthy Tuesdays: Caramel Coffee Frappa without Coffee & with an Added Benefit!

I love the Fat Stripping Frappa (pg 240 in the Trim Healthy Mama book) and it already has the benefit of having Gluccomannan powder (which can help you feel fuller and helps to alkaline your body amongst other benefits) and Whey Protein Powder (if you are interested in the benefits of this go to the Trim Healthy Mama Facebook Fan page
from Feb of 2013 and you'll see three posts there about it). But here's a recipe adding a third beneficial ingredient- ESPECIALLY for those who are loosing weight! Dandelion! Now before you turn tail and run away before reading the rest of the recipe, let me assure you- this will REALLY taste like a Caramel Coffee Frappe. I'm going to talk about a product you may not have heard of before, it's called Dandy Blend.
Dandy blend is an instant coffee replacement made from dried Dandelion root (along with a few other natural grains- however it is considered "gluten-free" because of the extraction process- read more here) And here's the added benefit, Dandelion can help your liver and gall bladder, both of which can be taxed during weight-loss. Dandelion has been shown to decrease acidity in your blood (which can happen as you loose weight), and also increase the bile flow from your gall bladder through your liver and small intestines. It also has been shown to increase activity of the pancreas and the spleen, as well as acting as a diuretic to cleanse your kidneys!  
 To read more on the many benefits of Dandelion(I just scratched the surface) please go here
 Caramel Coffee Frappa (S, E, or FP)
Ingredients:
1/2 cup unsweetened almond milk
1/2 cup water
1/2 tsp glucomannon powder
pinch sea salt
1 tsp caramel extract
2 heaping tsp Dandy Blend
 stevia or Truvia to taste (I use 4 packets of Truvia)
1 tray of ice
1 scoop Swanson Vanilla Whey protein powder (do not add until the end!)
 
 
Add almond milk, water, glucomannan, salt, caramel, Dandy Blend and sweetner to the blender. Blend until smooth (about 1-2 min) Add tray of ice, blend well, until an ice-y texture with no lumps of ice left. (if you have a high-end blender this will be easy- if you have an old cheap blender like me- this will take several times of turning the blender off and stirring the ice chunks down with a spoon, and then turning it back on) When completely smooth add the protein powder and blend fully (it will become like a soft-serve ice cream- yum!) Enjoy!


 Dandy Blend has 1 carb per tsp. so this drink will have roughly 2-3 carbs if you drink the whole thing yourself.


 or, you know, sometimes these cute little eyes will look at you and say, "Mama? May I pweese have a taste?" and then you'll have a little less of a serving. ;)

 
 Don't Forget to enter my giveaway for the Todd Wilson book, "How to be a Great Wife...even though you homeschool" 
 Note: I am not a doctor and NOTHING I say should be construed as medical advice!
 

Friday, October 18, 2013

Lego Quest II Play Challenge and a Todd Wilson Giveaway!

I found this great idea over on The Canadian Homeschooler Blog for a Lego Challenge each month! This month's challenge was "Play". Only my oldest wanted to participate and I showed him the challenge, and what a few other children had made and here's what he came up with!

He said they were playing "fight" and wanted to be sure I mentioned on the blog that these, "were like Nerf guns, not REAL guns!"

An incredible extendable arm with a "bullet" at the end 


Ramp for the bike to ride and jump off of


Ship with cannon on the front (and a barrel and dog to join in the fun!)


This Mini-fig. looks like he's enjoying himself!


Extender arm in action
 

"Nerf" cannon


Airplane
 

My son's idea for making the bullet look like it's flying


the full play scene!
 
 
As a homeschooling mom, it's very easy to become consumed with your children's education. Certainly we should be diligent in attending to their studies, but where is the line? And are we allowing our marriages to suffer? There is a great little book by Todd Wilson, "How to be a Great Wife...even though you homeschool" 
This book is a great little reminder at setting right priorities and then also maintaining them! It's written by a homeschooling husband and father of 8 and I will be giving one copy away! Just enter through the rafflecopter widget below!
(please note the copy I am giving away is an actual book- not the ebook version, and it is "gently used") Open to all U.S. residents 18+


Homegrown Learners
”HappyandBlessedHome.com”

Thursday, October 17, 2013

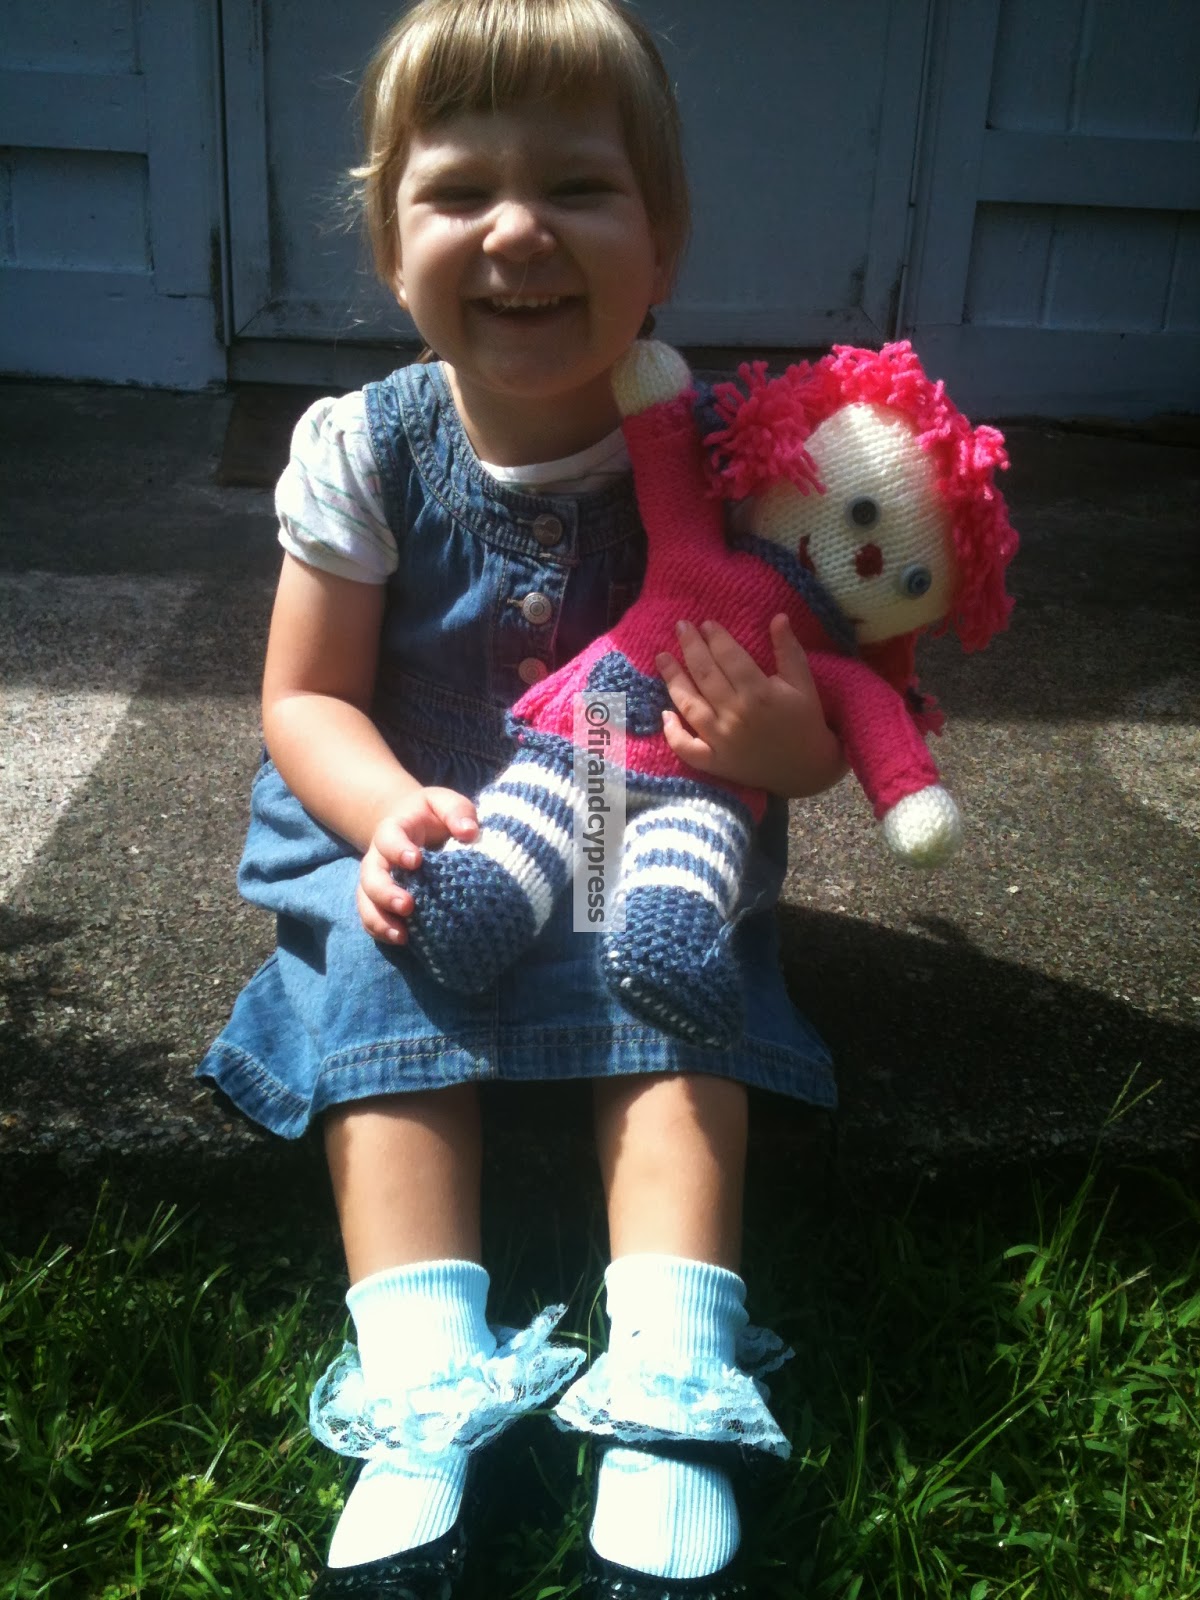
Knitted Dolly for a Princess


Based on an 1960's Coats and Clark booklet pattern


 With button eyes and a yarn smile


 Stripe-y Stockings and a pink dress


And, of course, pink hair for the little girl who thinks EVERYTHING that's pink is hers! =)


A Dolly for a Princess

Wednesday, October 16, 2013

Our elementary school art curriculum


I admit, I am probably not the best person to ask, "What is your favorite curriculum?" because although we have a 2nd grader, a kindergartener and a preschooler, we have never bought a curriculum! There have been times where I would have dearly wish we could have, and times that it certainly would have made less work for me to have it all planned out, but my husband lost his full-time job the year we started officially homeschool our oldest son, and he has been taking odd jobs and looking for full-time work since, so a curriculum has never been in the budget. Thankfully, we have lots of great homeschooling friends and my mom, who is a retired elementary school speech teacher, we've gotten lots of materials to look through and piece together! Our art curriculum is the same. We got this book from my mom (I see they have a newer version here )


It has lots of works of art that have been simplified for easier coloring and a small description of the artist on the side.


 I have an idea of using tracing paper as well on a few of the pictures, when my oldest son gets a little steadier with his pencil- fine motor is not his forte. But I wanted to go a little more in depth in talking about these artists, so when I found this book set on clearance, I scooped it up!
It has beautiful full-color glossy images of the paintings and an additional description of the artist and style of painting he/she used.

My oldest son and I sit together and discuss one artist per day look at some of the art work he has done (an internet image search can really help with this as well!)  and then together we work on coloring in the picture. We have used colored pencils, chalk, water colors, tempera paint, and pastels. We are working on blending, colors together to make new colors, talking about what sort of feelings each painting makes us feel, and what is the main subject of each painting. He has been asking everyday if we can do art together, so I think he has really been enjoying it! Hopefully, we can take a family trip to the art museum soon and he can have some more inspiration!
left: Vincent Van Gogh-"Wheat Field with Cypresses"(tempera paint), right: Vincent Van Gogh Still Life: Vase with Twelve Sunflowers (pastels)
 
If you want to do an art study with your children, these books are great resources, but your local library should also have a great collection of art books to study painting together and here are a few resources I pulled together for free online:
  •  This blog has a TON of great art resources and ideas!
  • This is the US government art for kids site. There is some things on there that are a little fluffy and low on content, but there are a few links that we have found interesting as useful!
Some famous artwork you can print and color for free (please look through these on your own and pick ones that suit your families personal modesty convictions- there are a few pictures mixed in that may not suit everyone)

I'd love to here what kind of art curriculum you use/what art projects you are working on in the comments!


We Made That

Tuesday, October 15, 2013

Trim Healthy Tuesday : Coconut Bonbons S

 
This recipe is for my husband. Every Christmas his mom makes him these incredible coconut bonbons (and mails them halfway across the country!) They are VERY yummy and VERY full of sugar ;) This past year we've had a lot of added stress going on in our lives, and that, combine with us both not always making the healthiest food choices, my husband started to have some blood sugar issues. He's young and at a healthy weight, but he's hypoglycemic and has always had a difficult time keeping his blood sugar balanced. He cut out sugar on his own and (after 3 weeks of not-so-fun detox) he started to feel a little better, but he was still getting dizzy(when he didn't eat often enough) and he really missed his sweets!
I knew we'd have to come up with a solution if this was going to work long term. Enter Trim Healthy Mama. I had read about this book on the Above Rubies  website and knew they had published it a few months before. I had weight I needed to loose as well and we decided to buy the book! I have had some really great success loosing weight on this plan (I'll post more about that another time) but my husband didn't need to loose much, if any weight. (though he still lost about 20 lbs!) but he's so thrilled with the desserts he can have and not feel shaky and dizzy after. And his blood sugar is much more stable, giving him a lot more energy! 

So, on to the coconut bonbons! I decided I would work on a healthy version of his favorite (and make sure I got it right BEFORE Christmas!)
 
 
This recipe is adapted from No Bake Coconut Crack Bars from Chocolate-covered Katie, if you haven't checked out her dessert blog yet- go! She's got lots of awesome recipes!


For the centers:
 1 cup shredded coconut (unsweetened)
 1/4 cup water and 4 Truvia packets (about 4 tsp.)
 2 tbsp virgin coconut oil (refined coconut oil is fine if it's all you have, but it won't have the additional benefits))
1/2 tsp pure vanilla extract
pinch of salt

For the chocolate coating (Skinny Chocolate from the book pg 371)
1/2 cup virgin coconut oil
1/4 cup cocoa powder
Stevia powder to taste (if you need to adapt this with Truvia, grind in a coffee grinder first)
 
Add all the ingredient for the centers to your food processor and process together. (note: this step may not be necessary and you may just be able to mix well if your coconut oil is already in liquid form)
 
 line a cookie sheet with parchment paper  
 
 Use a melon baller or similar rounded scoop to make half circles. (if you would like to form them by hand it *may* work to stick the mix in the freezer for about 15 min and then form the balls, it does not stick together well when at room temperature)
 
(note: I used a toothpick to help the coconut mix out of the melon baller) 
 
 
scrape out the last bits from your blender and quickly eat before the kids see and ask for some!
 
 
Dang it! Too slow... =)
 
 
place tray in freezer for 15 min to 1/2 an hr. until they are solid enough to pick up. 
 
 
Add ingredients together for chocolate coating in a small bowl (so it's deep enough for dipping!) and stir well, dip balls into chocolate. Place back in freezer.
 
I continue to repeat this last step until I felt the chocolate coating was thick enough. It took me four times, this will probably vary by the temp in your home (It's was a balmy 85 here that day so my chocolate coating was very liquid-y)


 Store in the freezer until you are ready to enjoy!!!
 
For easier printing (just copy and paste)
 
Coconut Bonbons (THM-S)
from firandcypress.blogspot.com
 
For the centers:
 1 cup shredded coconut (unsweetened)
 1/4 cup water and 4 Truvia packets (about 4 tsp.)
 2 tbsp virgin coconut oil (refined coconut oil is fine if it's all you have, but it won't have the additional benefits))
1/2 tsp pure vanilla extract
pinch of salt

For the chocolate coating (Skinny Chocolate from the book pg 371)
1/2 cup virgin coconut oil
1/4 cup cocoa powder
Stevia powder to taste (if you need to adapt this with Truvia, grind in a coffee grinder first)
 
Add all the ingredient for the centers to your food processor and process together. (note: this step may not be necessary and you may just be able to mix well if your coconut oil is already in liquid form).Line a cookie sheet with parchment paper. Use a melon baller or similar rounded scoop to make half circles. (if you would like to form them by hand it *may* work to stick the mix in the freezer for about 15 min and then form the balls, it does not stick together well when at room temperature) (note: I used a toothpick to help the coconut mix out of the melon baller) Place tray in freezer for 15 min to 1/2 an hr., until they are solid enough to pick up. Add ingredients together for chocolate coating in a small bowl (so it's deep enough for dipping!) and stir well. Dip balls into chocolate. Place back in freezer. Continue to repeat this last step until I felt the chocolate coating was thick enough. It took me four times, this will probably vary by the temp in your home. Store in the freezer until you are ready to enjoy!!!
 
This post is part of the blog link up at Stacy Makes Cents and Gwen's Nest go check out the other great recipes there!


Monday, October 14, 2013

Scripture and a Snapshot

 
"The heavens declare the glory of God; the skies proclaim the work of his hands. Day after day they pour forth speech; night after night they display knowledge. There is no speech or language where their voice is not heard. Their voice goes out into all the earth, their words to the ends of the world." -Psalm 19:1-4


      Scripture and Snapshot